Edit bookings
In this article we will explain how to:
- Add days to bookings
- Remove days from booking
- Delete bookings
- Split group bookings
- Adjust prices of bookings
- Assign a booking to another booker
Add days bookings
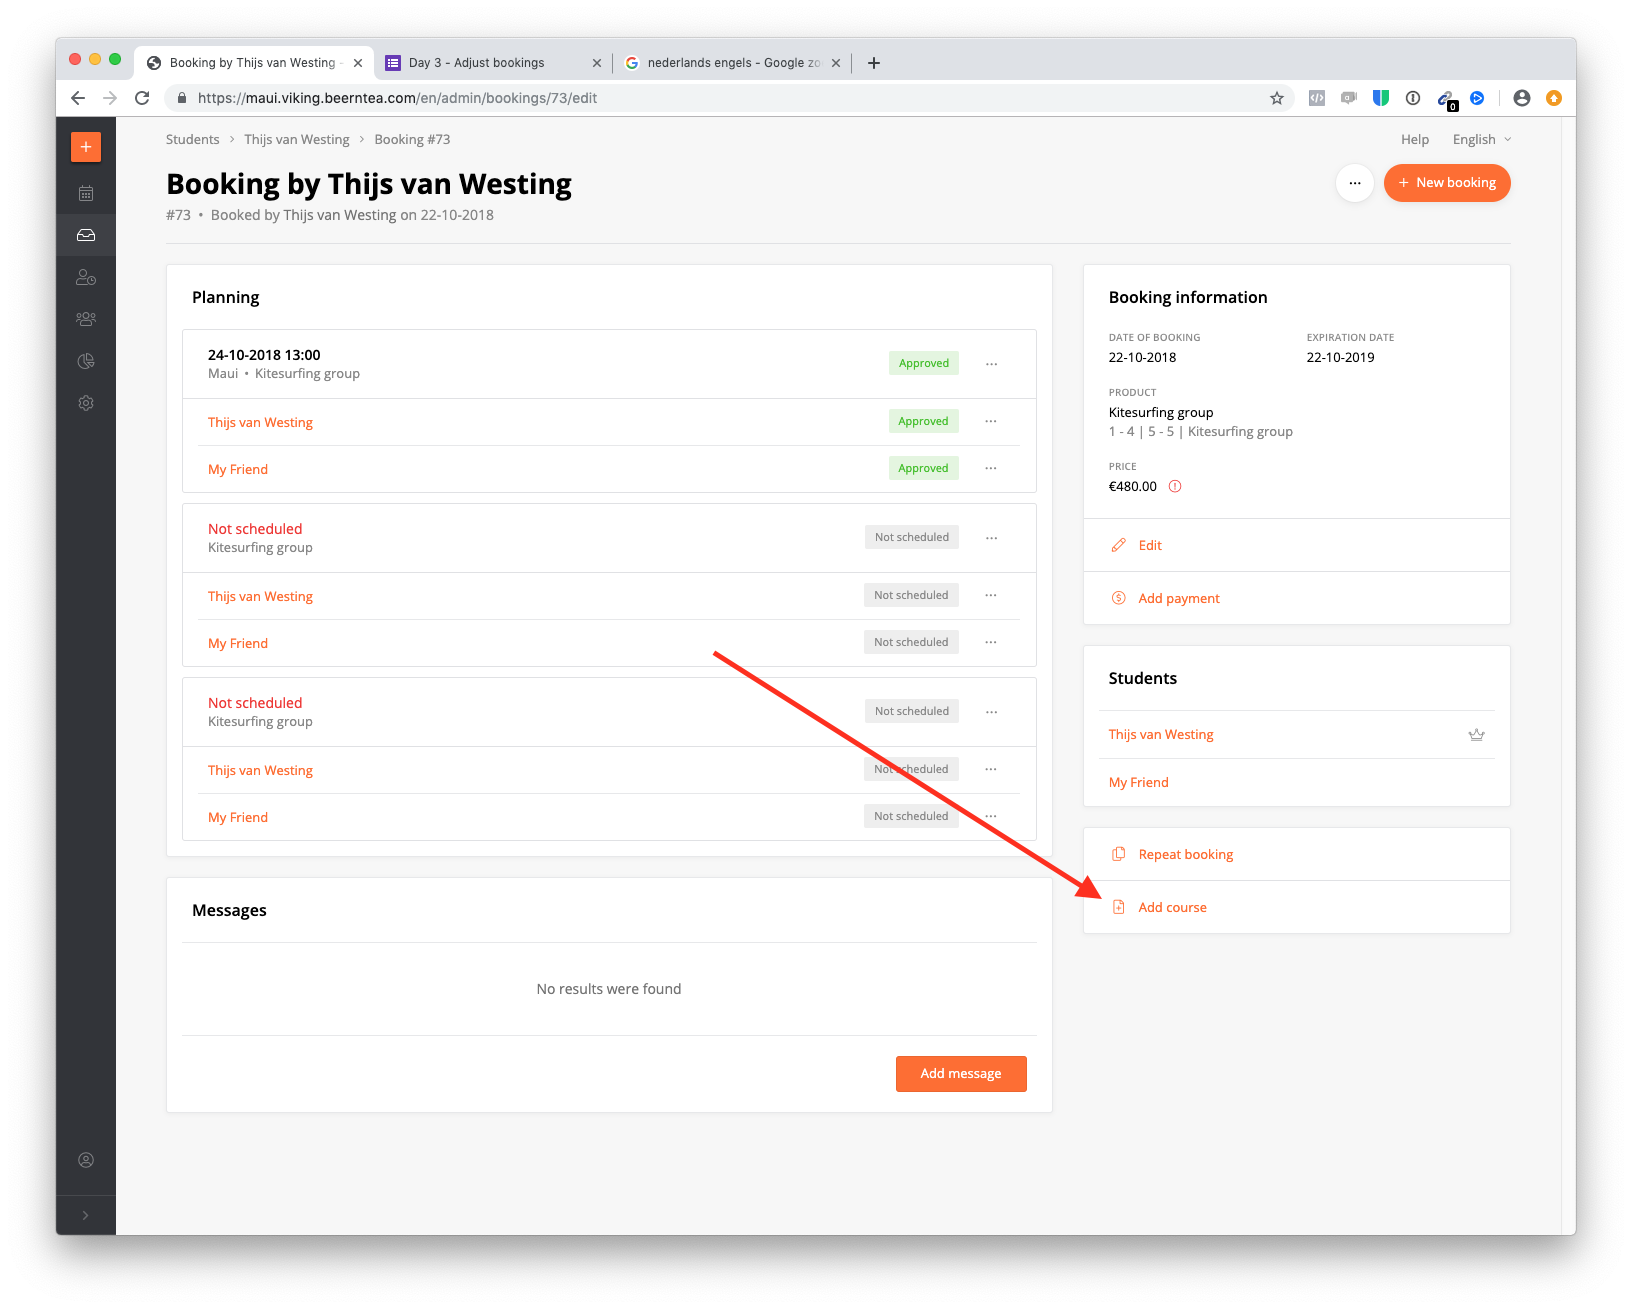
In the main menu, go to bookings and select a booking. Click 'add course'. Select the number of days and the participants. Possibly schedule 1 day already in the booking form & click save. Now don't forget to change the price.
Adjust prices of bookings
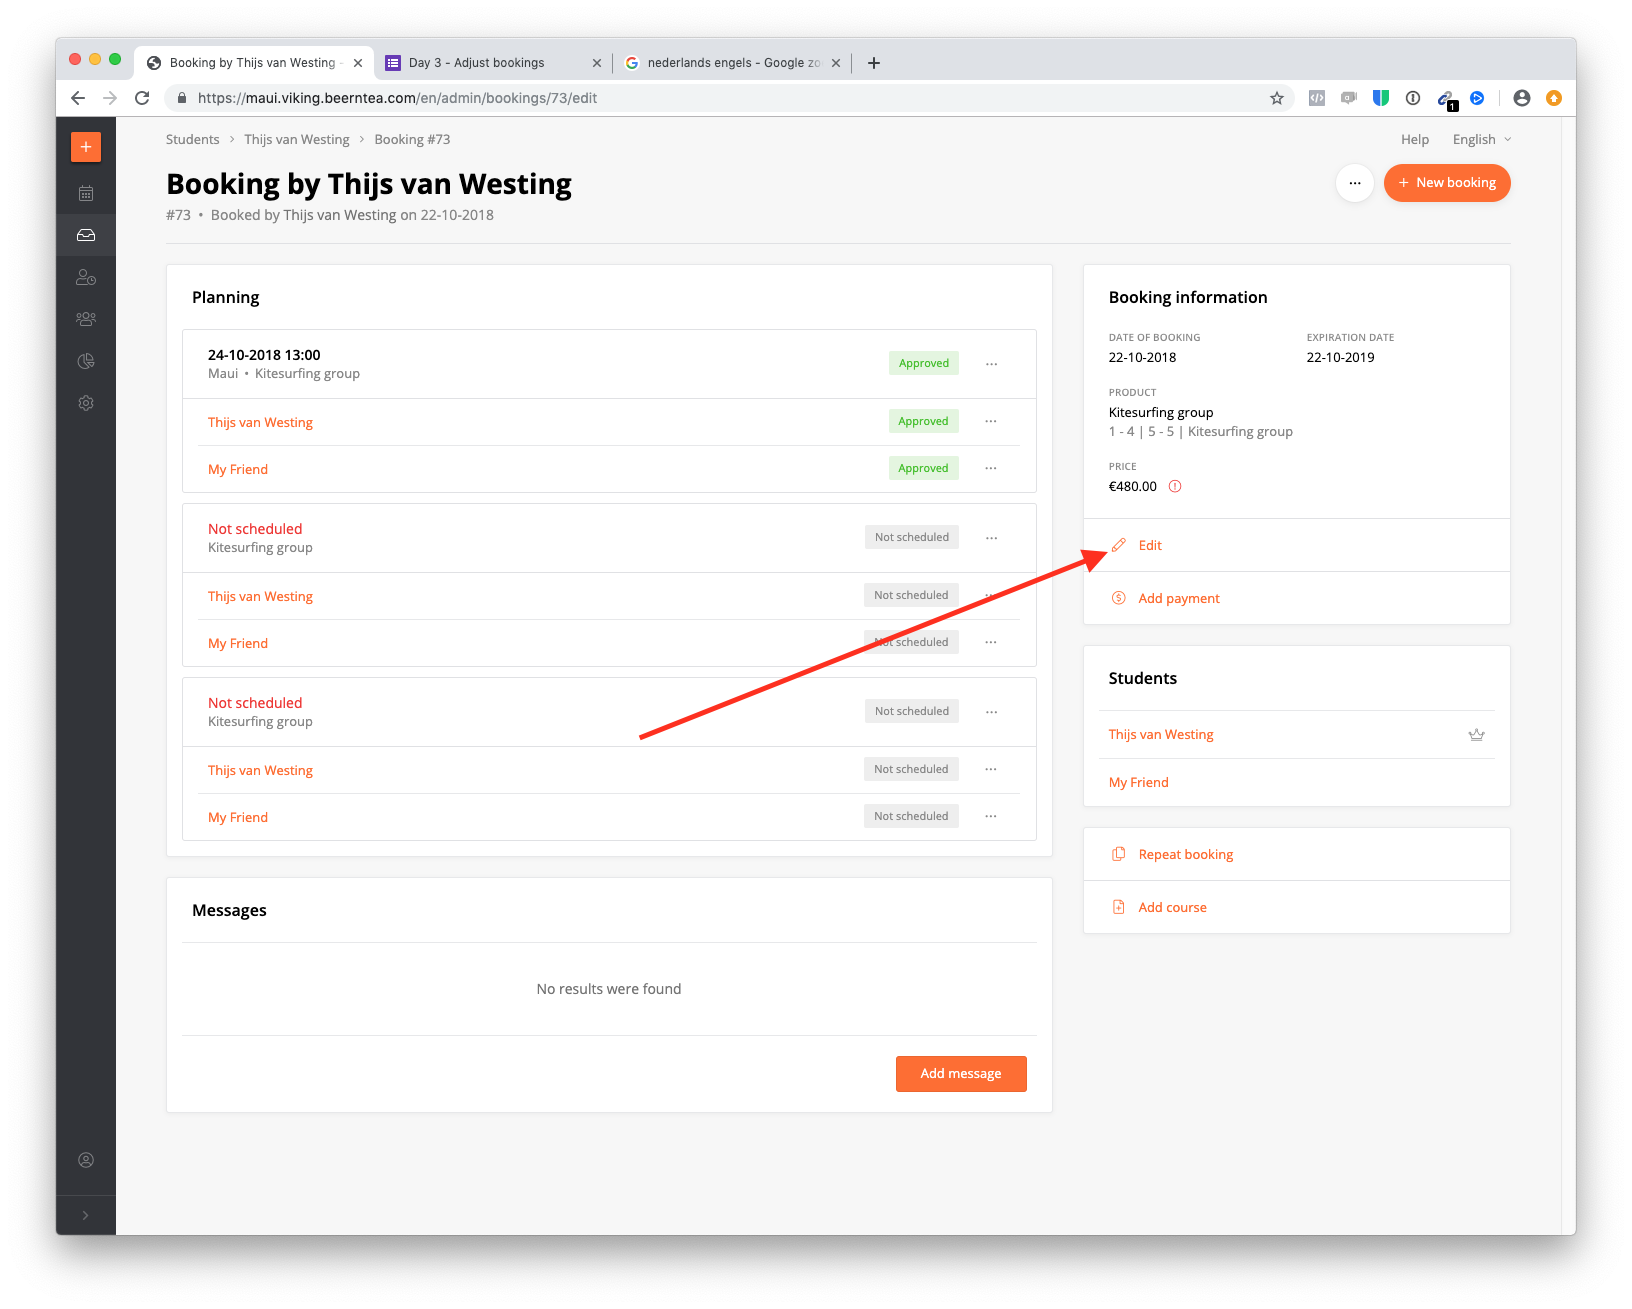
In the main menu, go to bookings and select a booking. Click edit and change the price.
Remove days from booking
In the main menu, go to bookings and select a booking. Now click on the 3 dots and click 'cancel course', now this course is completely blocked and never bookable again. Don't forget to change the price.
Delete bookings
IMPORTANT! A booking can only be deleted if:
- It has no courses with status 'Approved' or 'Scheduled'
- It has not been paid.
To delete a booking, go to 'Bookings' in the main menu and select a booking. The 'Delete Booking' button will show up in the lower righthand corner, but usually because of one of the reasons above, is not visible yet.
- For every lesson in this booking that is 'Scheduled' or 'Approved', click the 3 dots next to the lesson and click 'remove courses'. This operation cannot be undone, so be sure of your decision!
- If the lesson has a payment attached, it can not be deleted for (bookkeeping) safety reasons. To delete, first you have to set the lesson to 'Unpaid' by clicking the 'Mark as unpaid' button. This will create a negative payment in the system for this booking.
Now in the low righthand corner, a button will appear that says 'Delete Booking'. Select it to completely remove this booking from the system. (If this button doesn't appear, the booking still has scheduled lessons and/or a payment so always double check this!). This operation also cannot be undone!
Split group bookings
In the main menu, go to bookings and select a booking. Now click on the 3 dots of the student you want to split. Any action followed now will split this person from the group.
Assign a booking to another booker
In the main menu, go to customer and select the customer you want to change the booker for. Now click on the top 3 dots of the booking and click 'edit booking'. Click on the cross of the booker and select a new customer. Click save.