Test bookings in the system
To find the URL of your booking form, go to settings -> Booking forms -> click on booking form -> click on 'show form'
Before you start testing
When you are going to test, always make sure you are logged out of the system and that you are using an email address that does not already exist in the system.
The best way to do is, is copy the URL of your booking form and open in a new 'incognito window' (Chrome) or 'private window' (Safari, Internet Explorer).
If you use the same browser window that you use for the Viking admin, you will be logged in as admin and have more 'rights' in the booking form!
Make a booking
Now go to your reservation page on your website (or use a VIKING booking form that you've made) and book a (preferably multi-day) course. Also, plan all data immediately. You are now booking directly on the (instructors) availability you added.
Emails that are sent now
- The student received an email from the system. This email can be found at email templates -> new account booking confirmation.
- As an administrator, you received an email that contains a new booking on your primary email address (settings -> site settings -> primary email address).
- The e-mail sent to the student has also been sent to your BCC (settings -> site settings -> BCC email address) email address.
Check out the planned course in your day schedule, week schedule en monthly view
Click on daily overview. Here you will see the students information on the day he booked (with the calendar go to specific days). Click on availability. Here you will see the red numbers appear. The red number means number of instructors that are booked by students.
Book for students as an admin
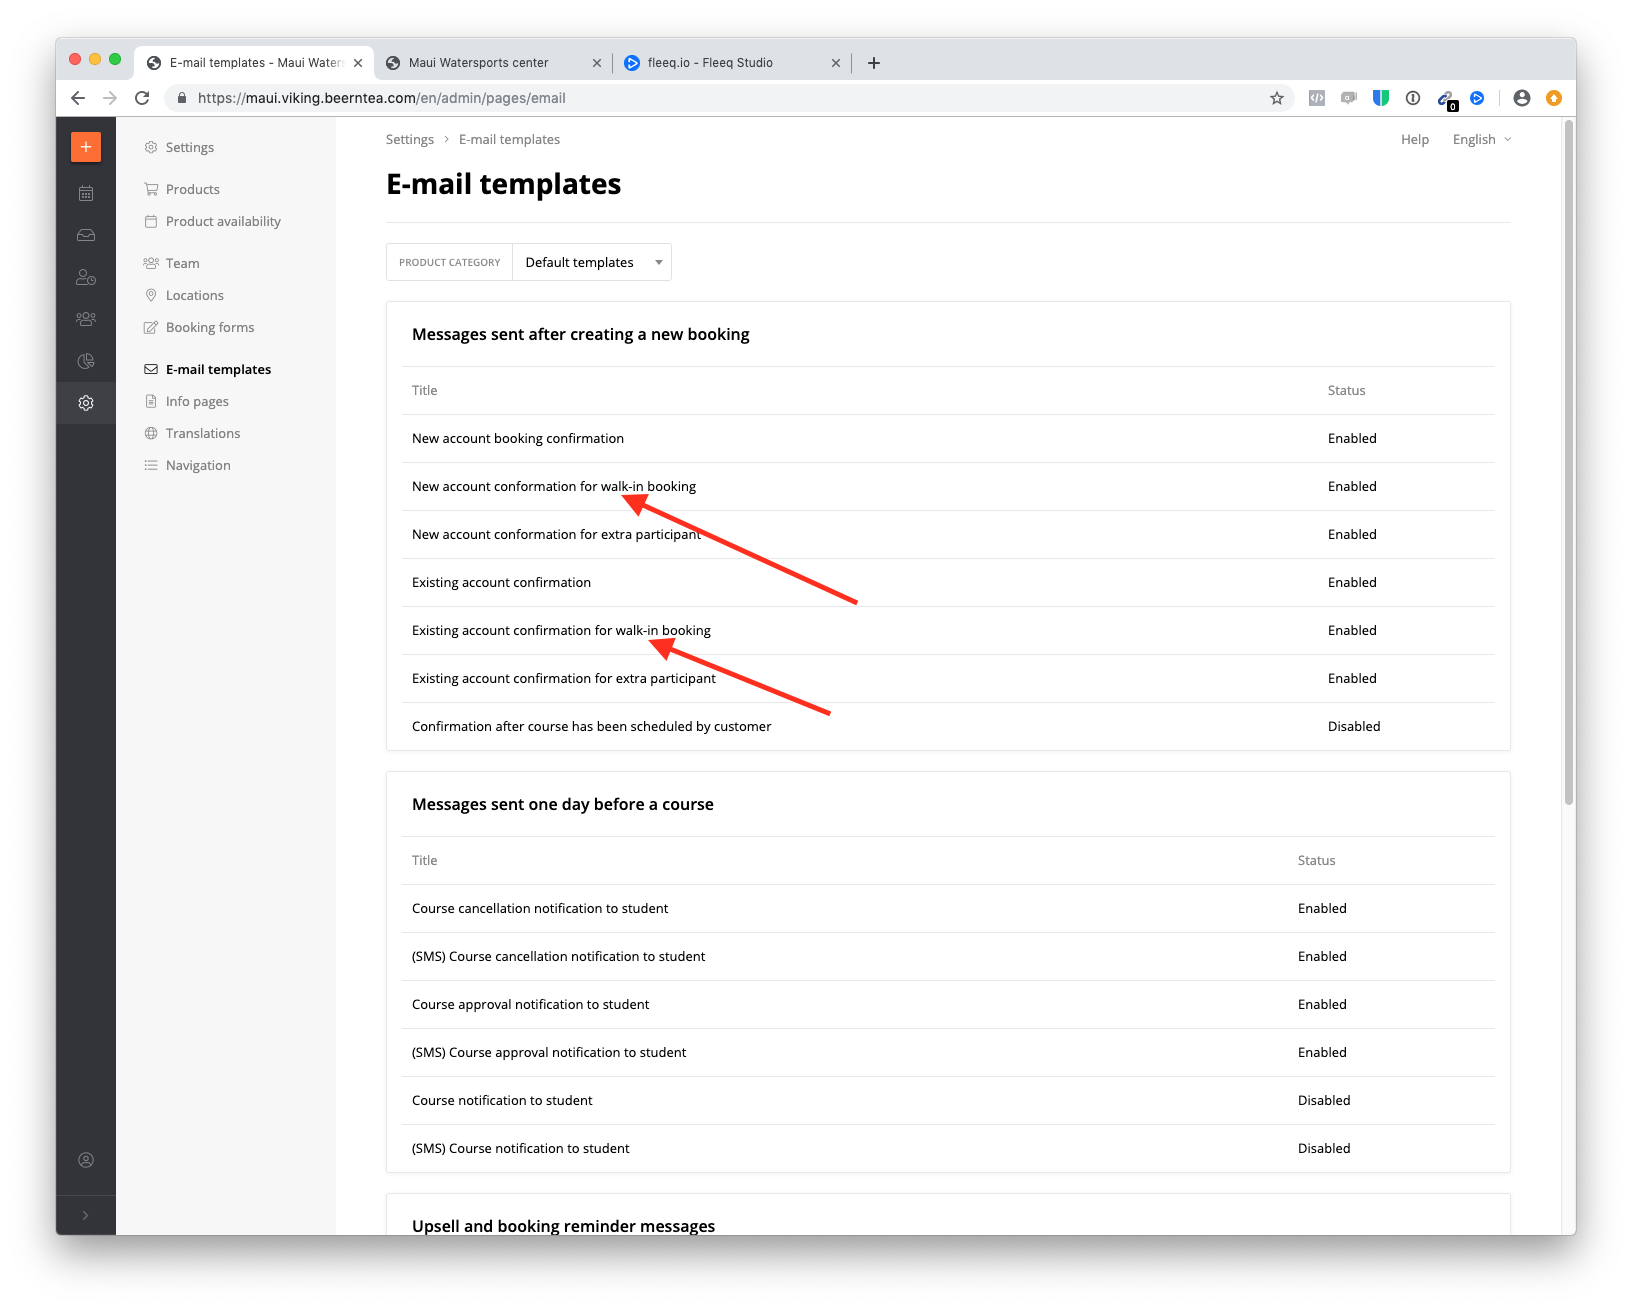
You can also book as a student from the administrator. This will automatically happen if you are logged in as an admin. Other booking confirmation emails will be send. These are all the 'walk-in' emails that are found in the emailtemplates.
Multiple person booking
Also, as a test, make a booking with multiple people.
Explanation on how the booking form behaves depending on the advanced settings in the product variant:
Go to Settings - products - select product - select variant - select advanced settings - 'course grouping':
One course per person
Here every student has to fill out their details in the booking form.
One course per group
Here only the head booker has to fill out his/her details in the booking form.
One slot per group, one group per slot
Here only the head booker has to fill out his/her details in the booking form. This is for bigger groups who want exclusivity. Here you can make a product that is only available if there are no other students assigned to an instructor and after it's booked no other students will be allowed to join this group. We recommend this option for eg a family who wants to go powerkiting or a company outing.
One slot per group, one group per slot
The difference between this option and the previous option is that here every single person has to fill out his/her details in the booking form.