What is a booking form?
Customers have the ability to book their lessons through a booking form. It is possible to create multiple booking forms for various activities, each with their own unique requirements. Once a booking form has been created, there are multiple methods available to integrate it into your website.
Go to booking forms - create booking form.
Most important booking form settings:
- What specific products or activities is the form being created for? Please include the products or activities in the form.
- The most common way to use the date selection is by displaying the calendar before entering personal information
- In addition to the predefined fields, you have the option to include additional fields in the booking form, such as 'emergency contact number' or 'source of referral'.
- Include the commonly asked questions in the sidebar widget
All booking form settings:
Tracking of the form
Within the reports, there is a filtering feature available for the 'traffic source' category. This will display the form's 'internal name' that you have assigned to it.
By utilizing this feature, you can integrate the form onto partner websites and track the amount of revenue generated through that specific site.
Language of the form
If you are using multiple languages, it is necessary to create a separate form for each language. Users who book through a specific language form will have their account set in that language and will receive all their emails in that language.
Learn more on how to translate Viking
Show in users account
The option to display the form in the users' (students') account is up to you. For instance, if you create a booking form for a partner website, it may not be necessary for the students.
Adding products / variants
You can make specific forms for specific products. If you add variants, all products will be overruled.
If you can't find the product / variant you are looking for, you might want to change it's name:
For products
Go to products - click on the product - change the product name - click save
For variants:
Go to products - click on the product - click on the variant - change the name - click save.
Date selection
In date selection you can choose to show calendar or show list and the position of the calendar / list. The calendar is mainly made for products that are lessons or rentals. The list is made for mainly camps / weekly repeating lessons.
Some things to know about the list view:
- It will load max 10 items
- It will show availability based on the 'number of participants' you enter above the list view
- It is not possible to show the number of spots that are still left
Payment
You can only choose to have your customer go to the service payment provider before they end up in their account (set redirect user to payment to yes), or to end up in their account first (set redirect user to payment to no).
System fields for bookers
Here you can hide, require or make fields optional for the first booker and extra participants.
Custom fields | Important
Click + Add item | a custom field box shows up with the following settings:
1. Scope
Here you can add extra questions to the booking or to the student. The difference is that for the booking, it's a text field that is for all people within the booking. And for the student, it's for every specific student in the booking.
2. Field title (the question to your student)
What is your emergency number?
Do you have allergies?
What is your address?
basically, anything you can think of.
3. Type | Select the type of answer box for your customer. Options:
1. Small text box - that consist of 1 rule
2. Large text box - That contains multiple rules (use this for for example for the remarks section)
3. Selection - Let your customers choose from a selection you give them. More explanation on this:
After you opened a custom field, select 'selection' in the type field and click 'add item'
Now write a predefined answer to the question. Examples:
Question: How did you find us?
Answer 1: Facebook
Answer 2: Google
Answer 3: Word of mouth
Click save & click 'show form'. The custom fields are now added to the booking form.
Custom text
Here you can add extra text to your booking form. It will show up above the calendar / list.
Changing other texts in the form
If you want to change other fields in the booking form, you can do that in translations.
Go to translations --> switch in the right top to the language you want to change the word from --> click control F --> type in the word you want to change --> click on that word --> change the name --> click save.
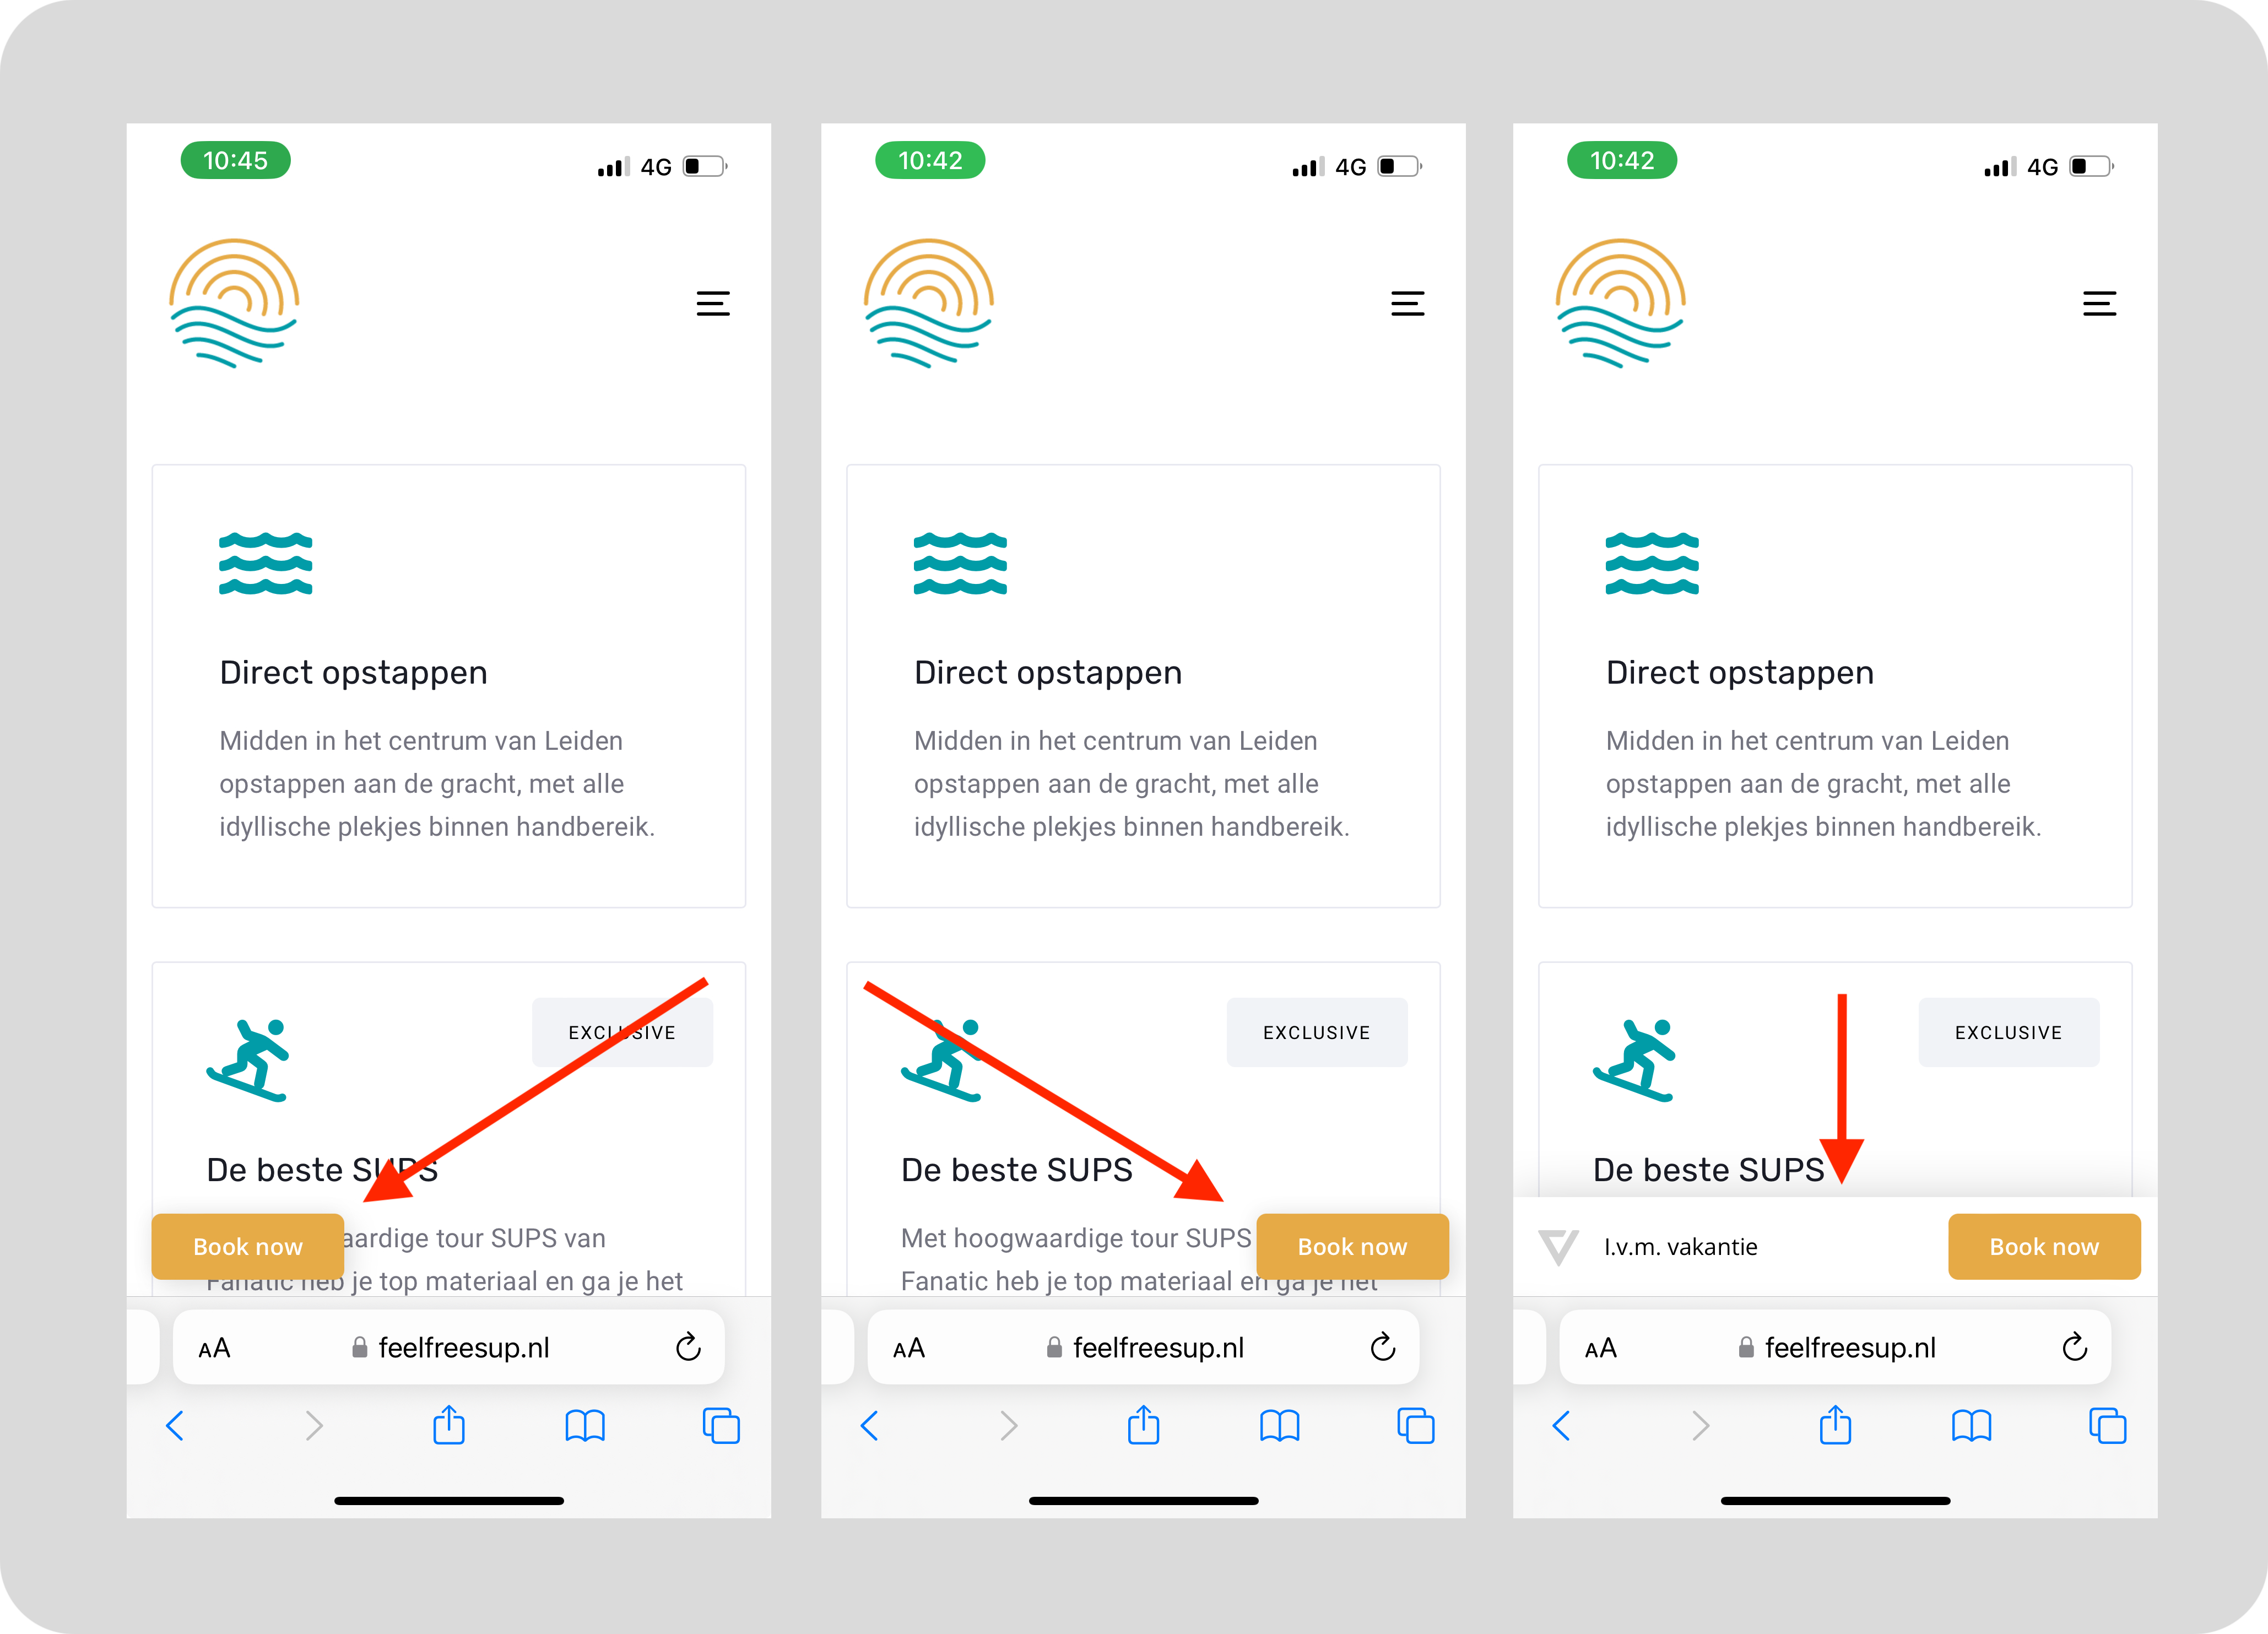
Widget button settings (Great for better conversion!)
Button label: add extra text next to the floating button on your website
Button CTA: change the text of the floating button on your website
Button alignment on mobile
When using the hoovering 'book now' button, you can control the way it is displayed on mobile screens.
- Left' and 'right': these options will only have a small button in the respective corners of the screen and only the Button CTA is shown.
- Bottom: this will use the entire width of the screen for the button and it includes both the 'Botton Label' text and 'Button CTA'.